
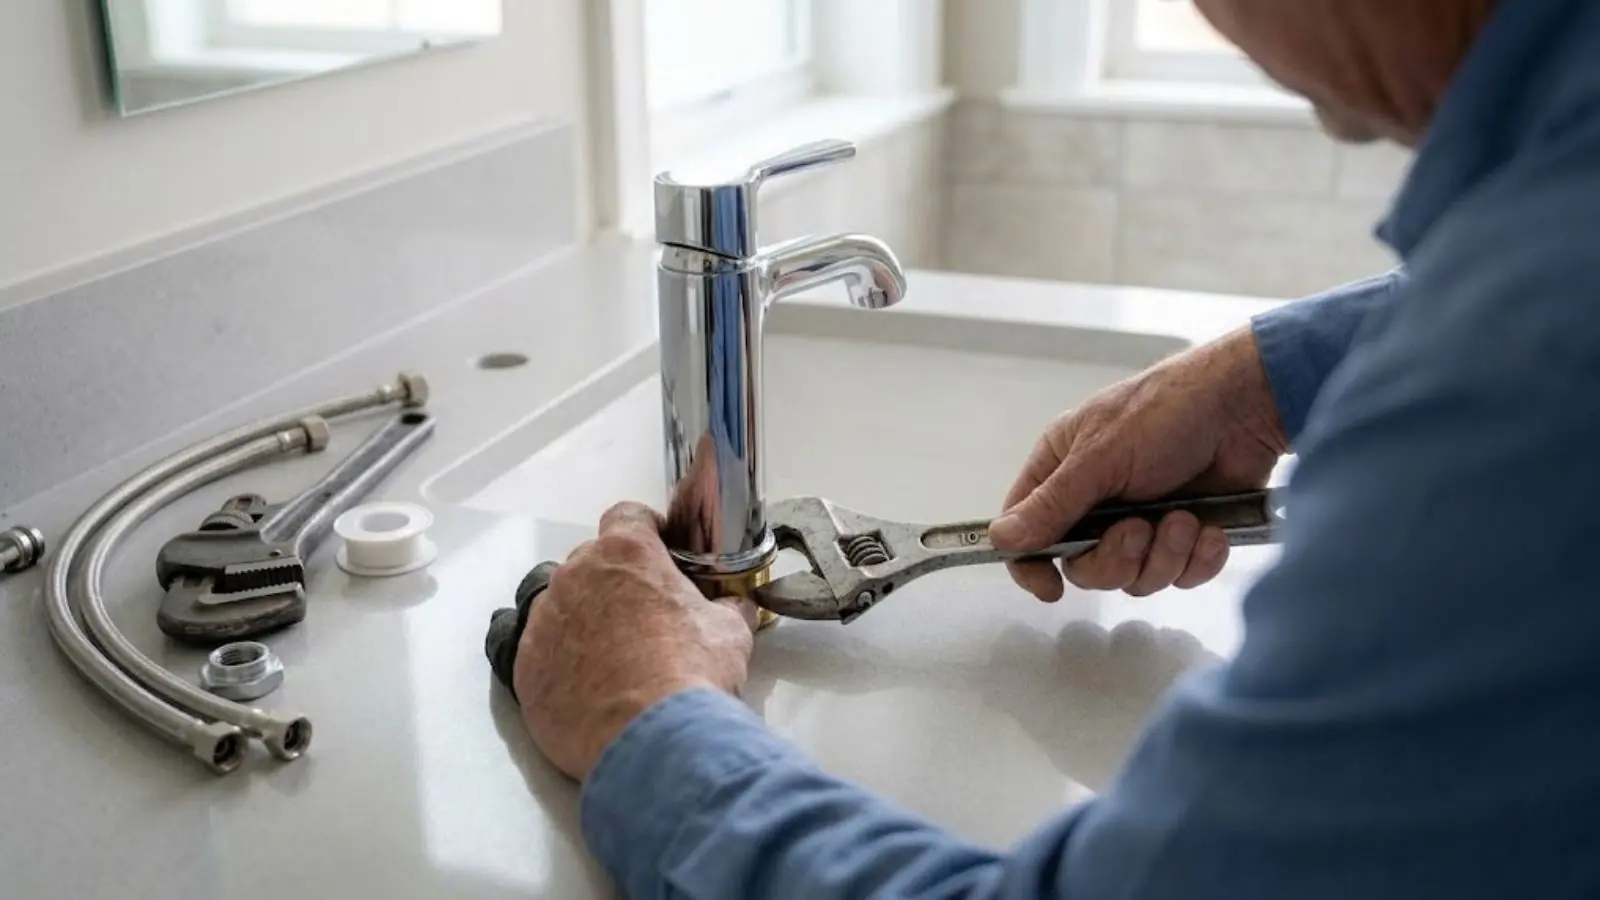
Plumbing tape, also called thread seal tape or Teflon tape, is a thin white film that fills the gap between threads on a pipe. When a shower head leaks where it screws onto the shower arm, fresh tape and a snug fit often stop it. It is a simple fix that a homeowner can do in ten minutes with a few tools.
The tape does not hold the joint together. The threads do that. The tape fills the tiny spaces between threads so water cannot squeeze through. That is why wrapping it correctly matters more than using a lot of it.
What you need
- A new roll of plumbing tape, white PTFE tape for water lines.
- An adjustable wrench or channel-lock pliers.
- A clean rag to protect the finish.
- A small brush or old toothbrush to clean the threads.
- A step stool.
Step by step
Unscrew the old shower head
Turn it counterclockwise. If it sticks, wrap the rag around it and use the wrench gently.
Clean the threads
Remove old tape and mineral crust from the shower arm with the brush. Clean threads seal better.
Wrap the tape
Hold the arm so the threads face you. Start at the second thread and wrap clockwise, three or four turns, overlapping slightly.
Screw on the head
Hand tighten, then a quarter turn with the wrench, wrapped in a rag. Over-tightening can crack plastic.
Which direction to wrap
Wrap in the direction that the fitting turns when you screw it on. Looking at the end of the pipe, that is clockwise. If you wrap the other way, the tape bunches up and tears as you tighten.
How much tape is enough
Three to four wraps suit most shower arms. Too little leaves gaps, and too much stops the head from seating and can leave a bead of tape inside the water path. If tape pokes out below the fitting, trim it with a fingernail or a razor blade.
Plastic shower heads need extra gentleness. Metal arms with a plastic head are common, and the plastic threads can crack with a wrench. Tighten by hand and give only a small extra turn.
Need a plumber to check it?
Call if the leak is behind the wall.
When tape is not the answer
| Symptom | Likely cause | Next step |
|---|---|---|
| Drip at the head connection | Old tape or loose head | Retape and tighten |
| Water at the wall plate | Loose shower arm or failed seal | Retape the arm or call a plumber |
| Water behind the wall | Leak at the arm elbow or valve | Call a plumber, stop using that shower |
| Drip from the head after shutoff | Worn cartridge in the valve | Valve repair needed |
If water appears on a ceiling below or inside the wall, stop using the shower and call. A leak at the arm elbow behind the tile needs a plumber who can open the wall.
Hard water and shower heads
White crust on the head is mineral scale. Soak the head in vinegar for an hour to loosen it. Scale blocks the nozzles and makes spray uneven, but it does not by itself cause leaks at the threads.
If scale returns quickly on every fixture, test your water. A softener or filter may be worth considering, and the page on water softeners and filtration explains how to start.
Other fixes when the tape does not stop the drip
If a fresh wrap and a snug fit still leave a drip, look at the shower head itself. Most heads contain a small rubber washer inside the connector. When it hardens or goes missing, water slips past the threads even though the tape is fine. Pop the old washer out with a fingernail and fit a new one of the same size.
A bent or damaged shower arm can also leak. Look for hairline cracks around the threads and for a wobble where the arm meets the wall. If the arm moves, the leak may be at the elbow behind the tile, which is a plumber's job.
Tape or paste: which is better here
| Product | Strength | Weakness |
|---|---|---|
| PTFE tape | Clean, easy to remove, fine for shower arms | Needs correct wrapping direction |
| Pipe joint compound | Fills larger gaps | Messy, and can leave residue in the water path |
| Both together | Rarely needed | Can make threads hard to seat |
For a shower head, tape alone is the standard choice. Save pipe compound for metal connections that need a heavier seal, and use the product made for the fitting you have.
Protect the finish while you work
Chrome and brushed finishes scratch easily. Wrap the arm and the head collar in a cloth before you grip them with pliers, and use a smooth-jaw wrench if you have one. If a fixture has a plastic collar, gentle hand tightening is all it needs.
Codes and licensing to know about
Plumbing in California is governed by the California Plumbing Code, which is based on the Uniform Plumbing Code (UPC). Whether a project like this needs a permit depends on the scope, so ask the City of Lemon Grove building department before you start. Contractors hold a C-36 plumbing license from the Contractors State License Board, which you can verify at cslb.ca.gov.
Plumbing in Lemon Grove: local notes
Helix Water District supplies water to Lemon Grove, and it publishes an annual water quality report. We do not state a hardness figure here, since the report is the source. If you see crust on your shower head within weeks of cleaning it, the report or a home test kit tells you more than the head does.
Nearly half of Lemon Grove homes are rented, based on 2020 Census figures. If your rental shower leaks behind the wall, tell the landlord in writing and do not try to open the wall yourself. A tape fix at the head is something a tenant can do, but a wall leak belongs to the owner and a plumber.
Frequently asked questions
White PTFE tape sold for water lines. Yellow tape is for gas, and pink is often for heavier water fittings.
On the arm, the male thread. The head's internal threads stay bare.
No. Remove it and start fresh.
Not on a shower arm. Tape is enough, and dope can leave residue in the water path.
A loose head is a quick tape job you can do yourself. A leak behind the wall or at the valve is the owner's repair. Report it to the landlord in writing and keep photos.